So now that summer is finally here, people are digging bikes out with a variety of challenges.
No spark, bad fuel, water in the tank, or, even worse, rust.
There are too many ways “no spark” can hit you for me to help you out with that, but let me share a little about that water in the tank, the bad gas, or a tank that’s getting rusty.
First of all, most of these start with bad habits.
Storing outside, not properly treating fuel before you park the bike for an extended time or buying a “barn find” that has been hiding for twenty years.
Let’s talk about bad fuel first.
If you have crappy fuel, you might just get by with siphoning off all the old stuff from the tank, replacing with fresh, and some judicious priming of the carb(s), maybe a little ether, and some prayer.
(I know a lot of you hate the idea of starting fluid, but it does have a place, so please, stop protesting and let’s get these bikes back on the road.)
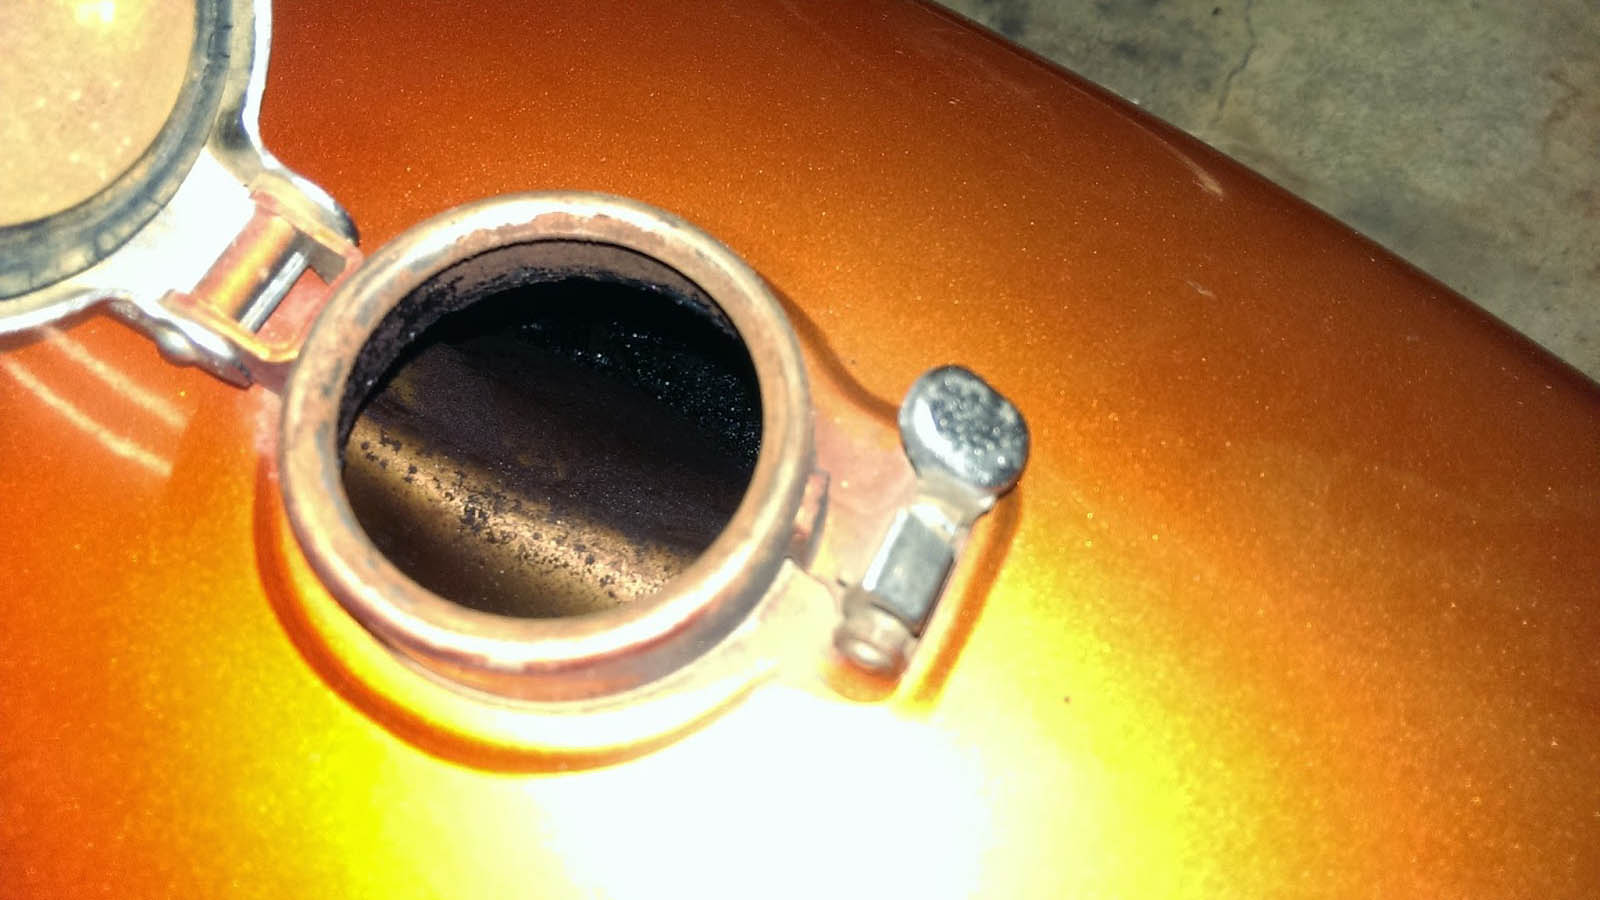
Now, if you’ve let the fuel sit in the carb bowls for years and it’s turned to varnish, you’re going to have to pull those, potentially rebuild them, and then, get them back in tune. I can’t tell you how to do that, because a rack of carbs on a Gold Wing is a whole different animal than an S and S on a V-Twin, but let’s start with the cheap solutions first. Get the tank emptied out and take a flashlight to it. How clean is the inside? Is rust flaking on the sides?
You’ve got a future problem if that’s the case.
If you see good, clean metal on the inside, then, like I said, get good fuel in the tank, prime the engine, and try to get it to roll over. Remember, don’t just let the starter run for minutes at a time – that’s an easy recipe for a burned up starter motor.
Many times, this has been all it’s taken for me to get a forgotten bike to turn over.
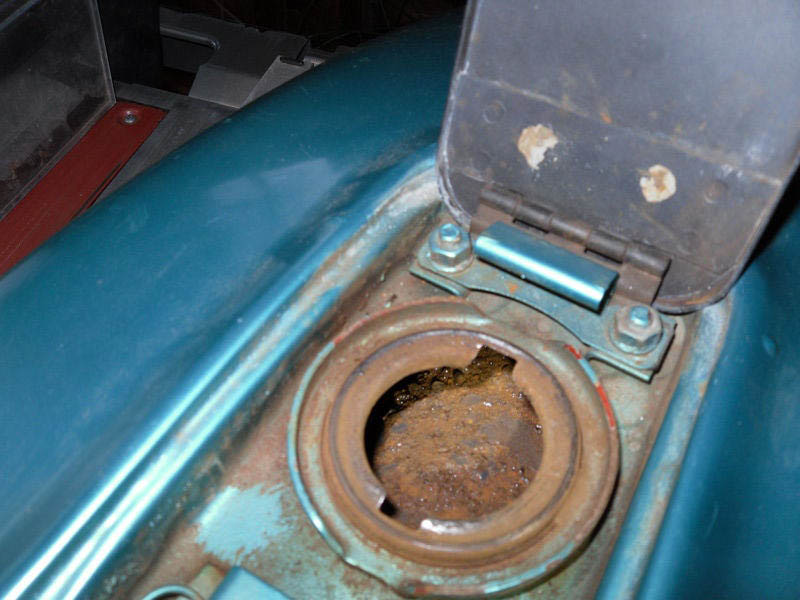
But let’s say you looked into your now-empty gas tank and see rust. A lot of it. Now what?
Well, you’ve got two game plans you can follow that are easy and one that will cost you a small fortune.
You could take it to the dealership. If your bike’s under warranty, they may or may not honor it, since some will see this as “abuse” and claim it voids the warranty. Guess what just got expensive?
Or you can avoid the dealership and you can unhook the tank – like carbs, there are too many ways to do this, so you’ll have to see exactly how your tank is attached to the bike. Now that your tank is free, it’s time to grab your “derusting solution”. Personally, if you know what you’re doing, muriatic acid, diluted to about a 25% solution, is perfect. Remember, all the safety rules apply here – gloves, eye protection, and even long sleeves. Fill the tank with this – careful not to splash it on the paint if you want to save it – and let it sit for a few hours.
If muriatic acid makes you nervous, then try two gallons of plain white vinegar. It’s a weak acid that can get a tank clean with little chance of harming you. I’ve soaked tanks for several days with this solution with no problems, but I like to check the tank every 12 hours. A good rule of thumb, no matter what you use, is to shake the tank every 2-3 hours and rotate it at that time. You don’t want it to form and “etch” line in the metal.
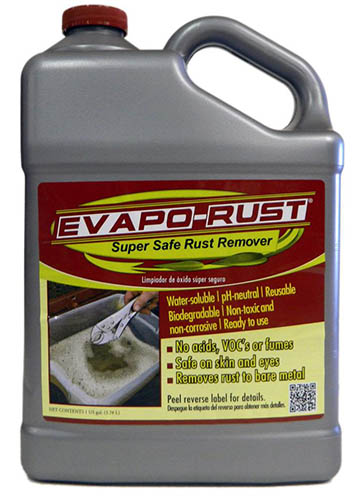
 (I haven’t used it, but there is a product called “Evapo-rust” that has a great reputation for this type of work, too, but I’m not sure on the soak times and it’s effect on paint if it gets on it.)
Once you’ve got the tank clean, I pour off the old solution – you can reuse it nearly indefinitely – and I flush the tank out with hot water. Yes, it can “flash rust” so you have to be careful. Don’t let it sit too long between now and getting it bolted back together. Next, you’re going to neutralize any acids in the tank by mixing up a couple gallons of water with four tablespoons of baking soda. Again, give it a little time to work – an hour or so, shaking regularly – and then, pour that solution off and re-flush with distilled water. Looking inside the tank, you should see clean metal; it might not be perfectly smooth, but it will be clean.
Here’s where I get some folks riled up, with this next step: you’ve got your tank clean, you’ve flushed it, and there is a tiny bit of residual water left in it. I add in a half quart of automatic transmission fluid and thoroughly coat the inside of the tank, then pour it off. This helps to prevent the flash rust I talked about earlier and buys you some time to get the tank remounted, replumbed, and filled with fresh fuel. Don’t worry, ATF is light enough and the amount in question is so little it will have no effect on combustion.
One thing I like to do at this stage is to inspect all my fuel lines, especially the rubber ones that might be hard to access with the tank on. A quick trip to an auto parts store and a few dollars for new rubber line (pay attention to whether you’ll need a high pressure line or not – usually not) can go a long way towards making your riding season more enjoyable with less downtime.
In a perfect world, you should be able to simply fill up and go now, but bear in mind, some of the rust you’ve been fighting has likely made it into the fuel system – carb bowls, filter, etc…
You might as well go through them – if you can – and check it out. At any rate, in perhaps 75% of the cases where we’ve done this, we’ve been able to get the bikes to fire up. Yes, we might have to re-tune the fuel metering, but that is another story for another day.
It’s not the easiest job in the world, but it does get you around the bike and it’s far easier to do this on your terms than on the side of the road wondering why your bike won’t run.

