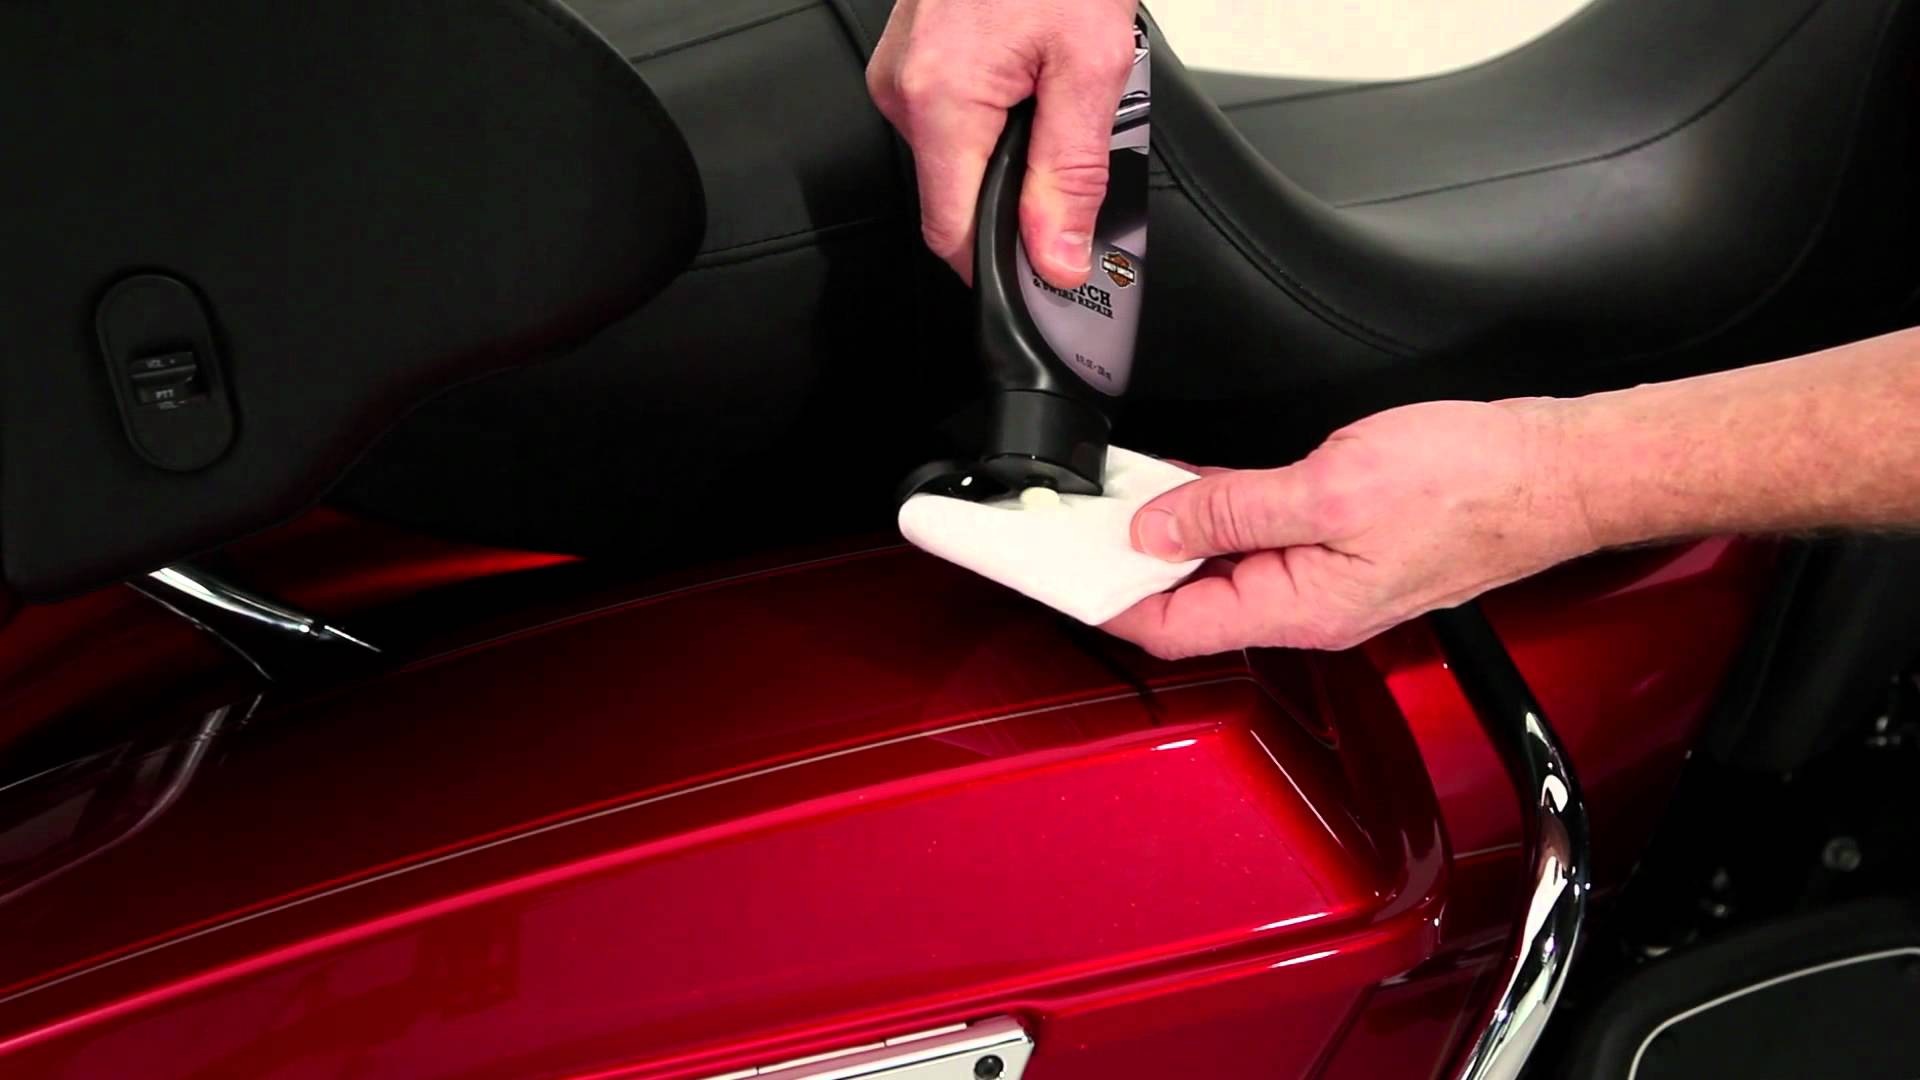
The paint and bodywork of a motorcycle can make all the difference in its overall look and appearance which is why people are willing to spend thousands on re-sprays in order to restore their motorcycle’s paintwork back to its original best. It doesn’t matter how careful you are, sometimes scratches to the paint work on your motorcycle are beyond your control and are unavoidable as a result. One of the main culprits when it comes to paint scratches are loose stone chippings hitting your vehicle as you’re driving.

Supermarkets are another culprit, or rather, careless shoppers opening their car doors too hard into yours, or bumping your vehicle with their shopping trollies.
Whatever the reasons for your motorcycle’s paintwork becoming scratched, if it is bothering you, rather than spending hundreds, possibly even thousands on a small touch up, you can carry out the repair yourself. Here’s how:
Find the right paint – Before you even think about trying to spray your motorcycle yourself, first off you will need to find the right colour paint that matches your vehicle colour perfectly. It’s no good just shopping for a “red” paint as there are many different shades of red you will have to choose from. If you’re unsure, take your vehicle in to a specialist and ask them to find a paint or identify the exact colour for you.
Use an artist’s brush and test the paint – Next up, use a small artist’s brush and test the paint on a part of your vehicle not visible to the naked eye, a wheel arch for example. Testing a small area will let you know for sure whether or not the colour does indeed match the bodywork.
Clean the damaged area – If you’re happy that the colour matches, clean the damaged and scratched area thoroughly using warm soapy water. Rinse well, and then ensure you dry the area carefully. Ensure that the area is clean and completely dry before you move onto the next step.
Degrease – After ensuring the bodywork is dry, which should take at least three hours to be sure, spray some degreaser onto an old rag and rub the area to remove any grease or old wax or polish.
Sand down the scratch – Next, using a fine sandpaper, carefully smooth and sand down the scratched area of your vehicle.
Apply primer – If there is any metal bodywork exposed, apply a primer. Don’t spray it, instead, dip a cotton bud into the primer and use it like a paint brush as it will be a little fiddly. Again, leave to dry for 2 – 3 hours.
Paint – Now that the surface is clean, primed, sanded, and dry, it’s time to add the paint. Using a small paintbrush, apply a small amount, using fine and gentle strokes until the scratch is filled in. You will need two or three coats but make sure each coat is dry before applying the next.
Sand and level the scratch before buffing – Using 2000 grit paper and a sanding block, carefully level the scratch before buffing the entire area with a thorough polish.
Once you have got your bike back to looking fresh, you’d be wise to invest in a paint protection kit from 3dom wraps to protect your motorcycle from any further damage.
